How to Publish a Figma Plugin
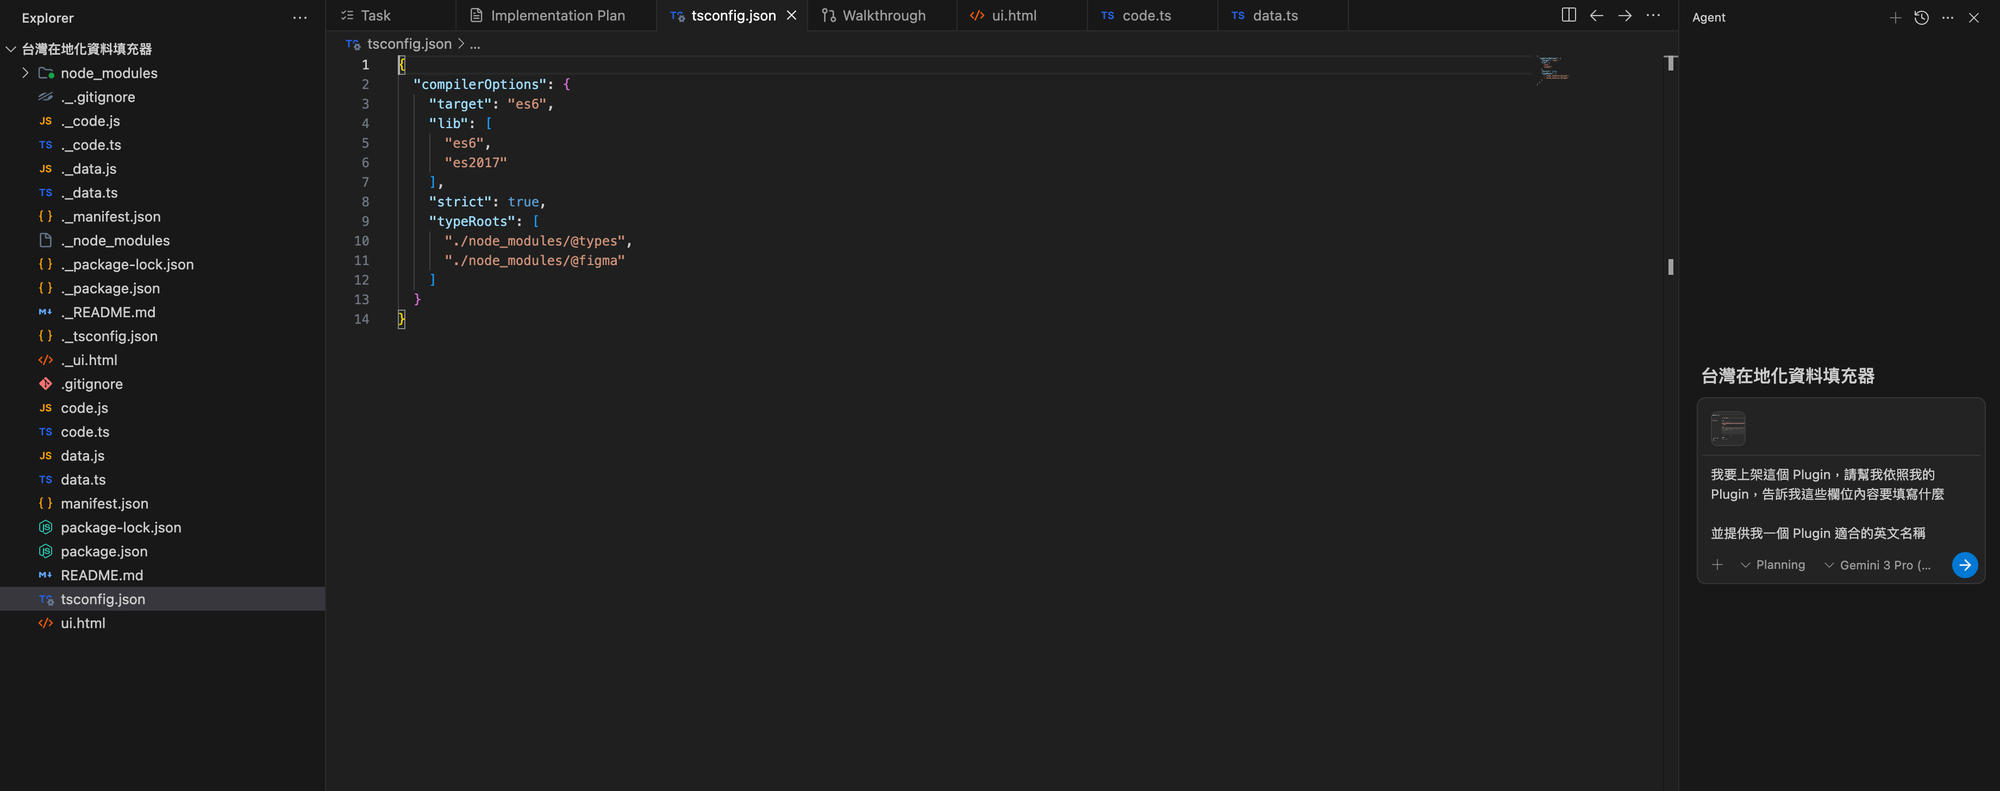
This guide shares how to publish a Figma Plugin. I primarily used AI to develop my Plugin, and I'll also share how to quickly publish a Figma Plugin with AI assistance.
💡 Extended Reading: If you want to know the detailed process of how I developed a Figma Plugin, check out this article: A Coding Newbie Successfully Created 4 Figma Plugins with AI
Introduction: Advantages of Using AI IDE Tools
Here's a useful tip: I recommend using AI IDE (Integrated Development Environment) tools like Cursor or Antigravity to develop Plugins. The benefits include:
- Local Processing: Plugin development happens locally, making these tools most convenient
- AI-Assisted Publishing: After building with AI, you can directly ask AI for help with publishing issues
- Smart Form Filling: From descriptions to optional fields, AI understands your product well and can provide the most suitable answers
Below, I'll share all the publishing steps and details.
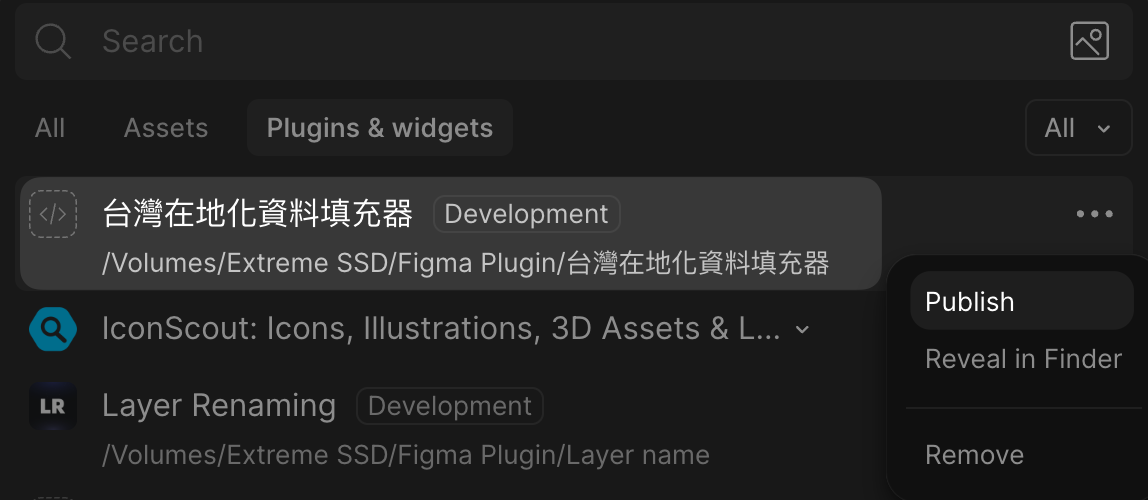
Step 1: Click Publish on Your Completed Figma Plugin
In your Figma Plugin development interface, find and click the Publish button. This will open the publishing workflow form page.
Step 2: Fill in Basic Information
This part is actually quite easy—just follow the field descriptions. If you're unsure or want convenience, you can screenshot and send it to AI, tell it about your tool's functionality, and AI will help generate appropriate descriptions.
Of course, I'll also briefly explain each field and filling suggestions:
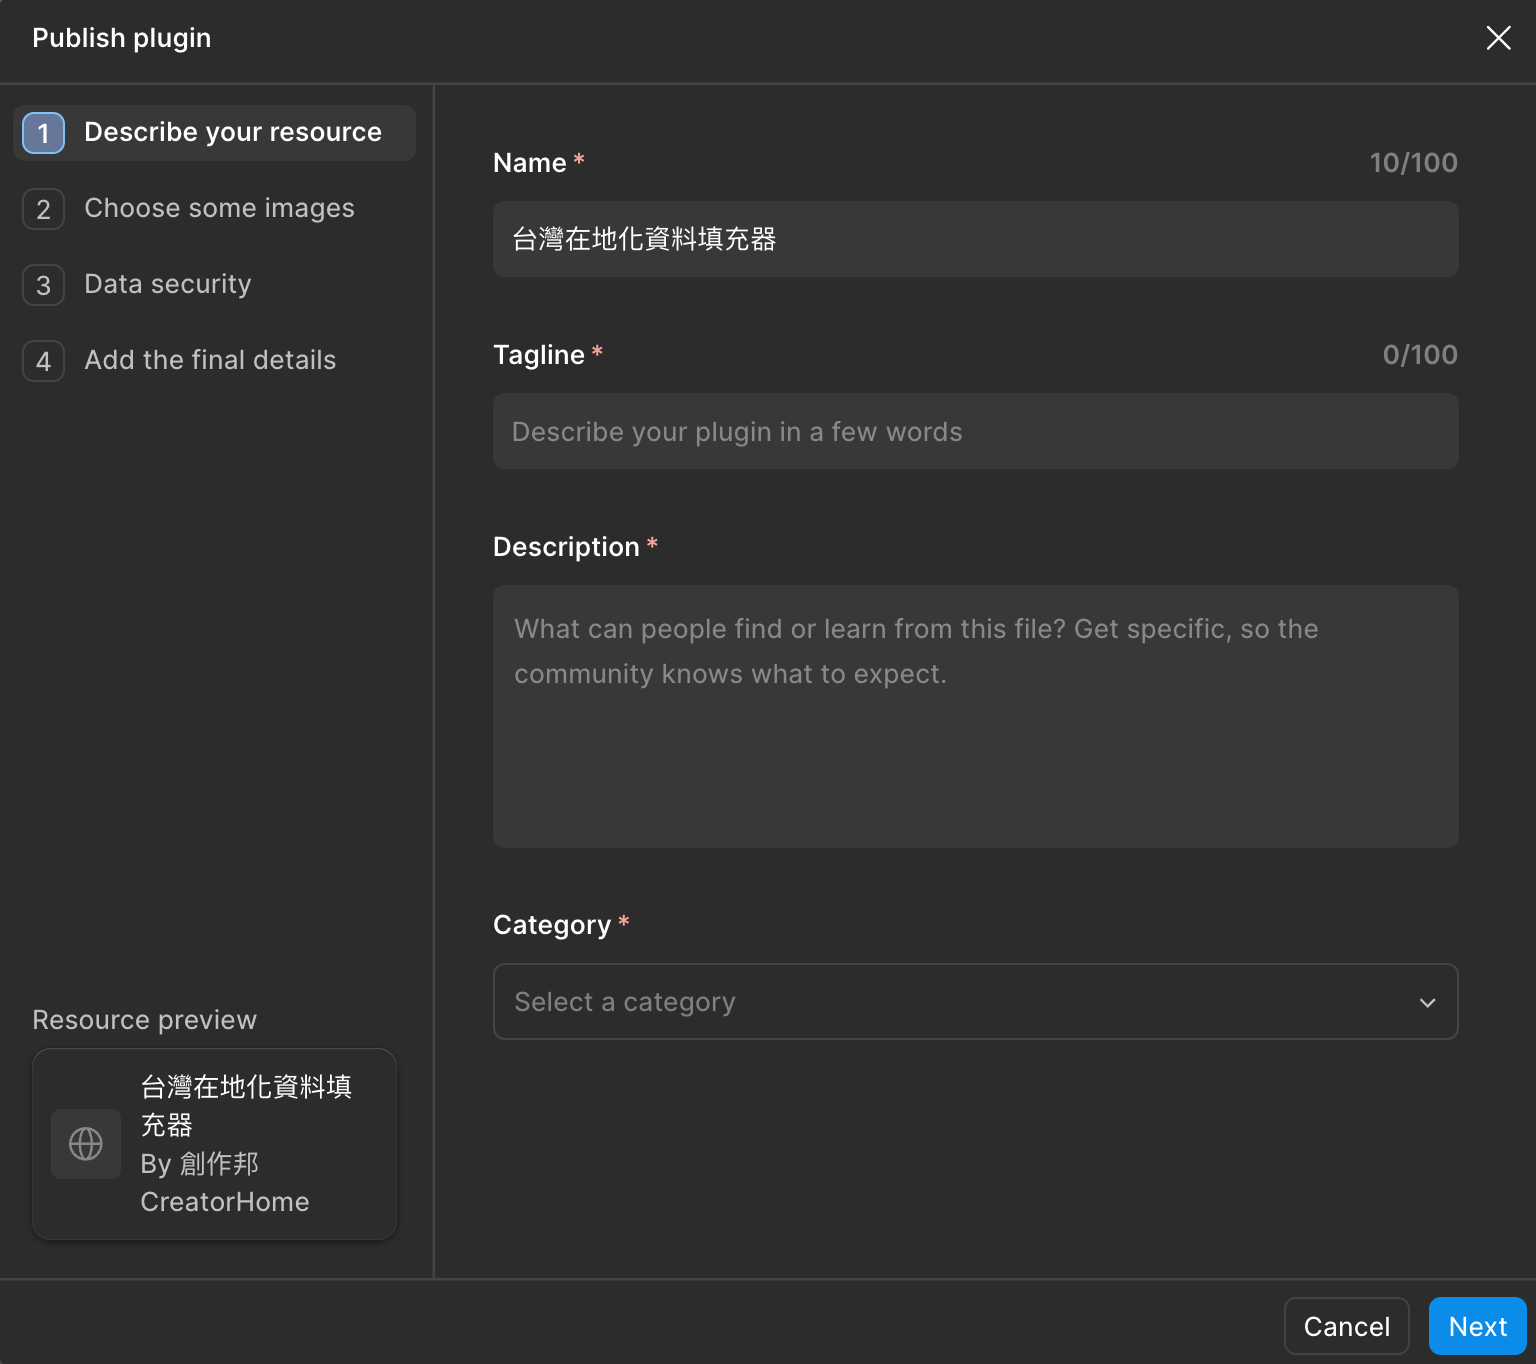
Part 1: Describe Your Resource
Name:
- Your Plugin name
- 💡 Suggestion: Most Plugins should include English text, as Figma is an international tool with users worldwide. Including English makes it more searchable
- Example: "Batch Export Frames - 批量匯出框架"
Tagline:
- A one-sentence description of your Plugin's functionality
- Recommended to keep within 60 characters, concise and powerful
- Example: "Quickly batch export Figma frames with preview and positioning features"
Description:
- Detailed explanation of Plugin features, use cases, and problems solved
- Can include feature lists, usage methods, target users, etc.
- 💡 AI Tip: Screenshot your Plugin functionality and ask AI to write a professional description
Part 2: Upload Visual Assets
You must upload at least two images:
-
Plugin ICON
- Size: 128 x 128 pixels
- Format: PNG or JPG
- Recommend using clean, highly recognizable icon design
-
Cover Image
- Size: 1920 x 1080 pixels
- Format: PNG or JPG
- This image displays on the Plugin's main showcase page
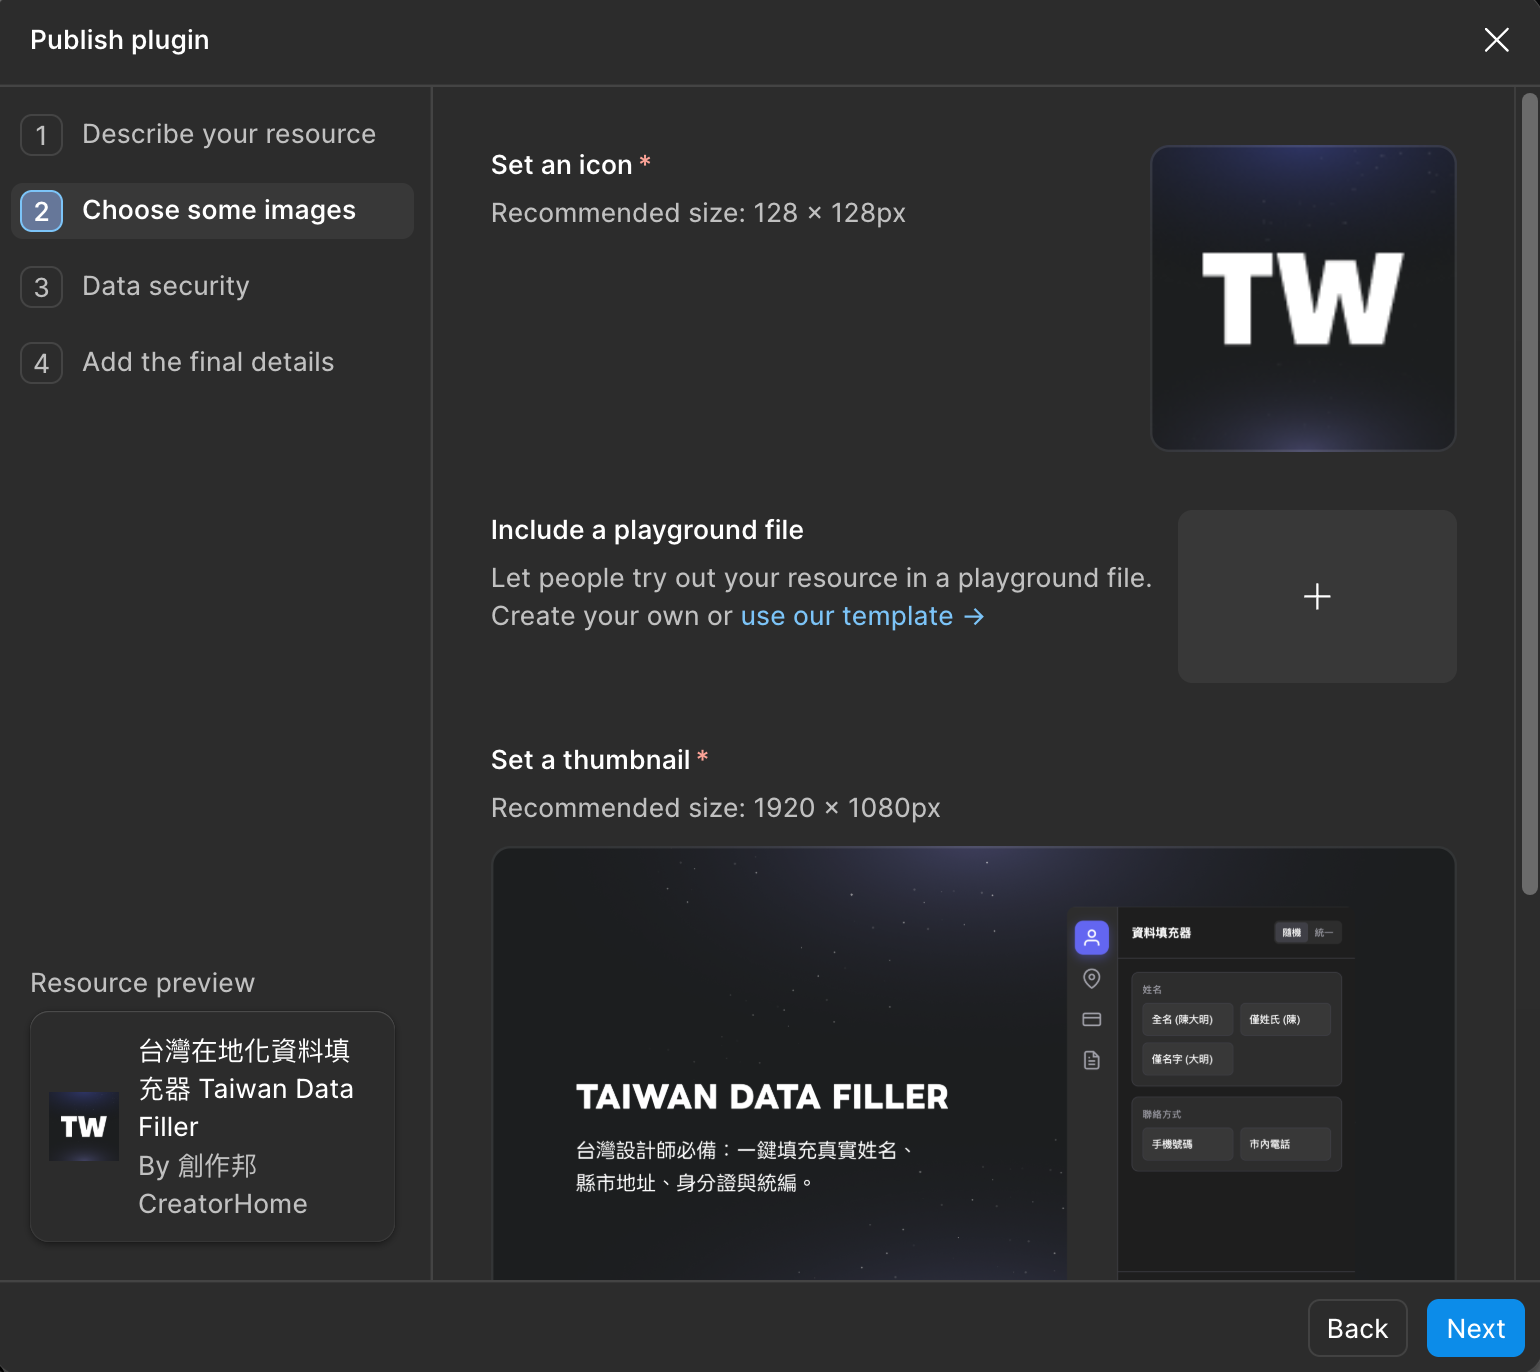
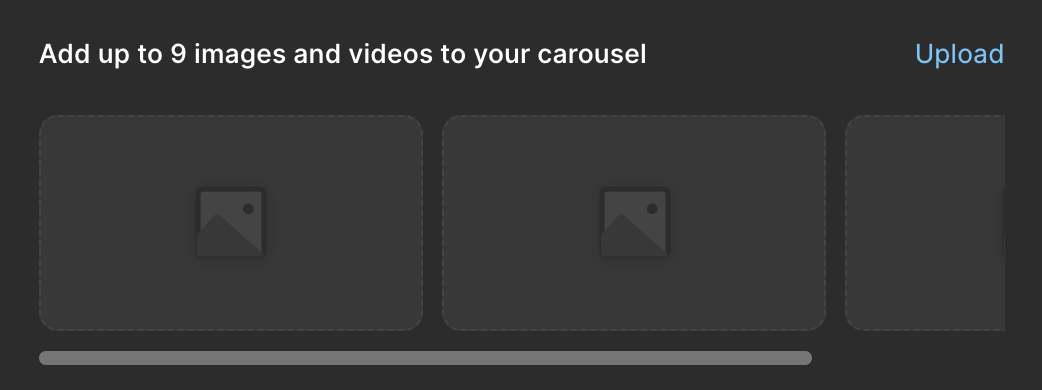
Additional Assets (Optional):
- You can upload more explanatory images or videos
- These will be displayed as a carousel
- Helps users better understand your Plugin's features and interface
Part 3: Data Security
This is the most important section. Figma takes user data security very seriously. You need to answer several questions. I've provided detailed bilingual translations—choose appropriate options based on your actual situation:
Question 1: Do you host a backend service for your plugin/widget?
Options:
-
✅ No, I do not host a backend service for my plugin/widget.
-
⚠️ Yes, but my plugin/widget does not send any data read/derived from Figma's plugin API to this backend.
-
🔴 Yes, and data read/derived from Figma's plugin API is sent to this backend.
💡 Note: Backend service refers to a service running on a remote server for data processing, storage, or complex computations. If your Plugin only runs locally, choose the first option.
Question 2: Does your plugin/widget make any network requests with services you do not host?
Options:
-
✅ My plugin/widget does not make any network requests.
-
⚠️ My plugin/widget makes network requests for static assets (e.g., fonts, images). None of these requests include data read/derived from Figma's plugin API.
-
⚠️ My plugin/widget makes network requests to analytics tools (e.g., Mixpanel, Sentry, etc.). None of these requests include any data read/derived from Figma's plugin API.
-
🔴 My plugin/widget makes network requests not captured by the above:
💡 Note: Network requests refer to the Plugin requesting data or resources from external servers. Static assets are unchanging files like images and fonts.
Question 3: Does your plugin/widget use any user authentication?
Options:
-
✅ No, my plugin/widget does not require or use any user authentication.
-
⚠️ Yes, my plugin/widget has user authentication that is handled via a third-party identity provider (e.g., Auth0 or a "Log in with Google" button).
-
🔴 Yes, my plugin/widget has user authentication that is handled via a site that I host.
💡 Note: User authentication refers to login systems that verify user identity. Third-party identity providers include services like Google and Facebook login.
Question 4: Do you store any data read/derived from Figma's plugin API?
Options:
-
✅ No, my plugin/widget does not store any data read/derived from Figma's plugin API.
-
⚠️ Yes, my plugin/widget stores data read/derived from Figma's plugin API locally (e.g., localStorage, figma.clientStorage, or node.setPluginData).
-
🔴 Yes, my plugin/widget stores data read/derived from Figma's plugin API in a way not captured by the above.
💡 Notes:
- localStorage: Browser-provided local storage space; data persists until cleared
- figma.clientStorage: Figma's client-side storage API for Plugin settings
- node.setPluginData: Figma's node data storage method, attaching data to design elements
Question 5: How do you manage updates to your plugin/widget?
Options:
-
✅ I am a solo developer. I manage and update my plugin/widget myself.
-
⚠️ I work on a team and code changes are reviewed by a separate person before publishing.
-
🔴 Other
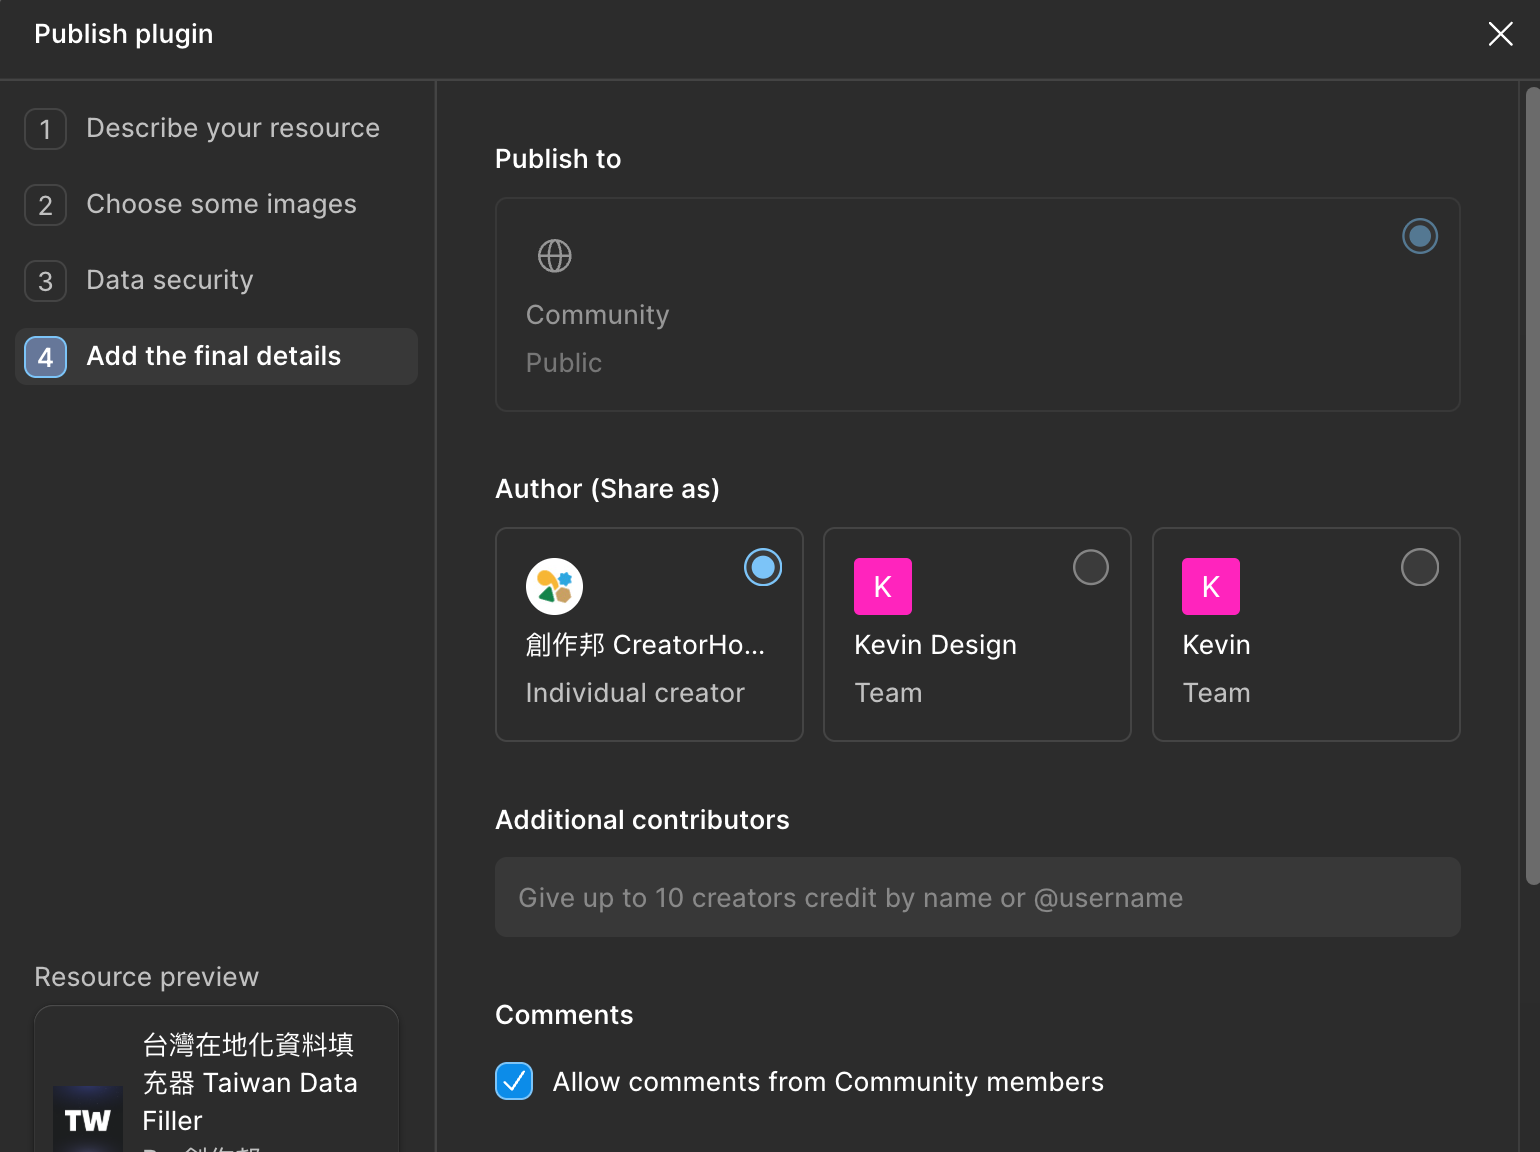
Part 4: Add the Final Details
This part is simplest:
-
Choose Author
- Select yourself as the author
- If there are co-creators, add them together
-
Enable Comments
- Choose whether to allow users to comment on the Plugin page
- Recommend enabling to receive user feedback
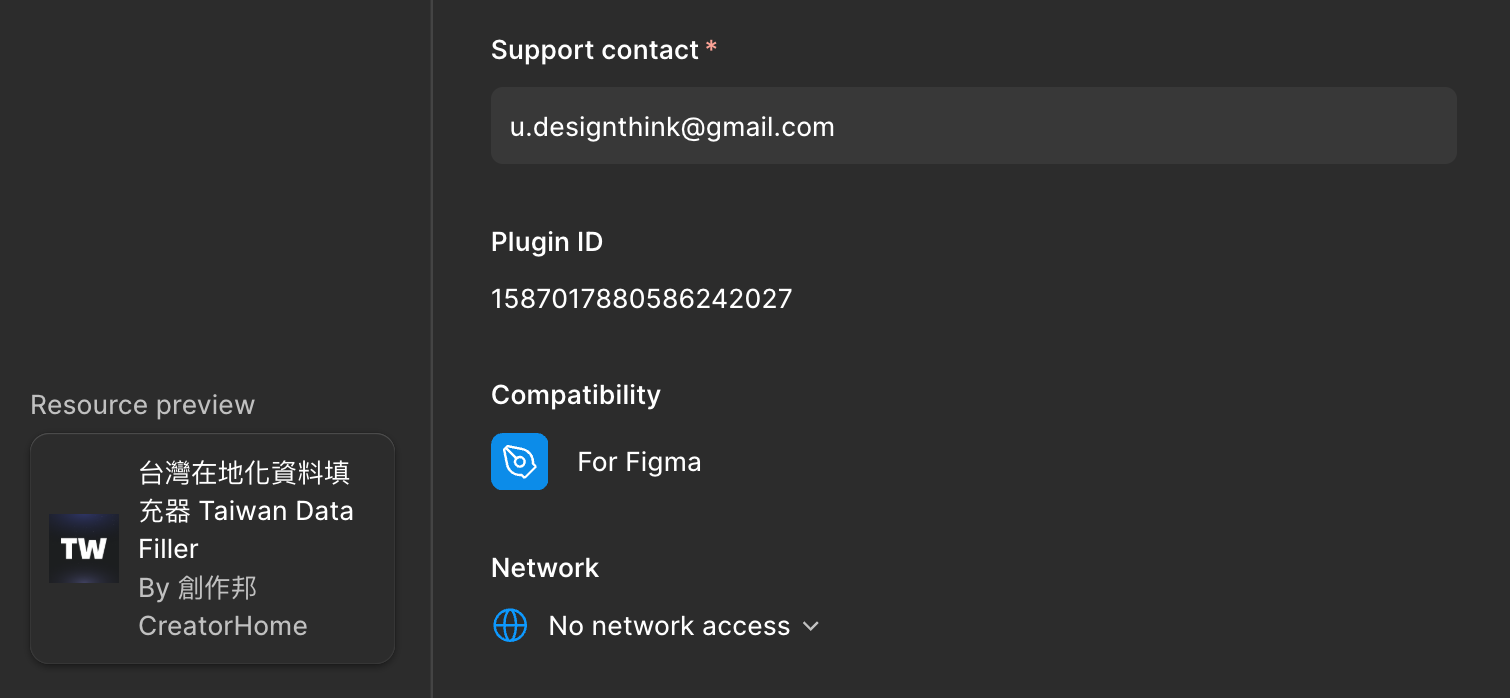
- Support Email
- Defaults to your account email
- If you want to use a different email for support requests, modify it here
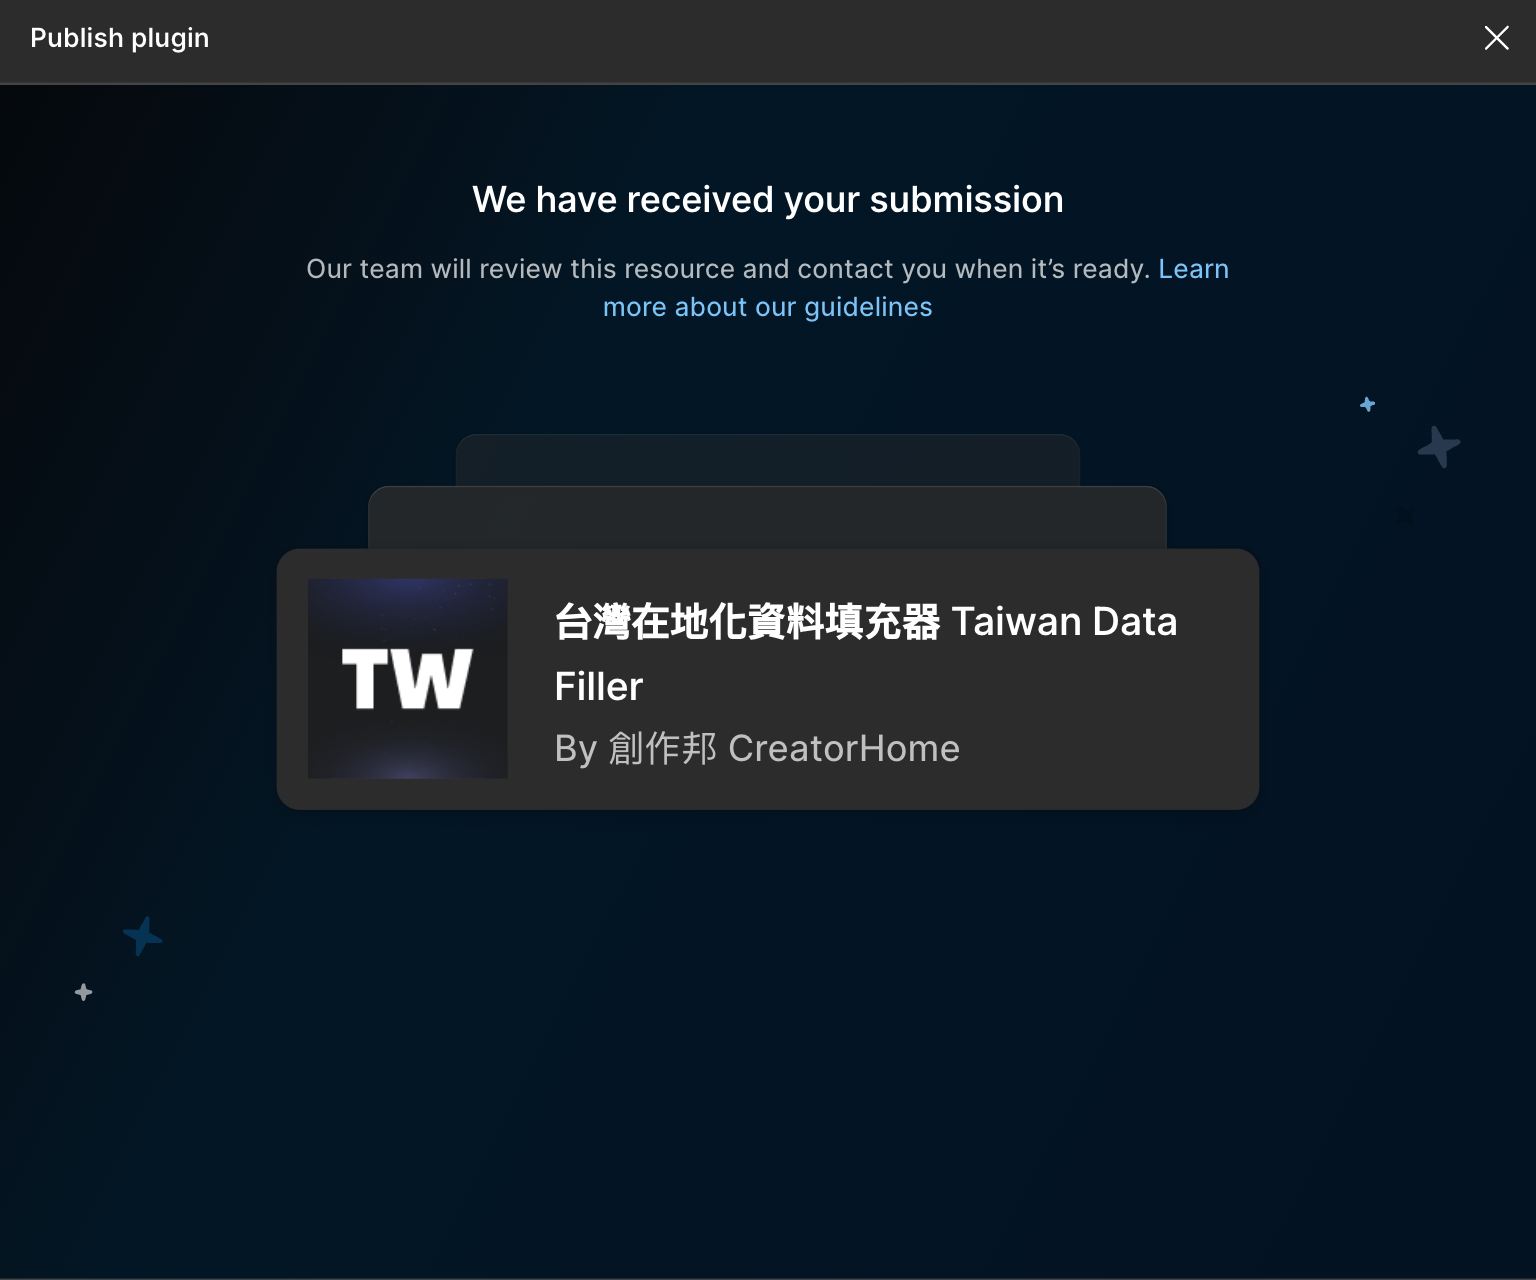
Step 3: Submit for Review
After filling in all information, click the Submit for review button.
Review Time:
- Fastest is half a day to one day for completion
- My past experience is typically around one day
Review Results:
- ✅ Approved: Plugin goes live and can be publicly shared
- ❌ Rejected: Figma will tell you the reason; you need to make targeted modifications and resubmit
💡 AI Tip: If rejected, you can screenshot or copy the rejection reason to AI and ask for analysis and solutions.
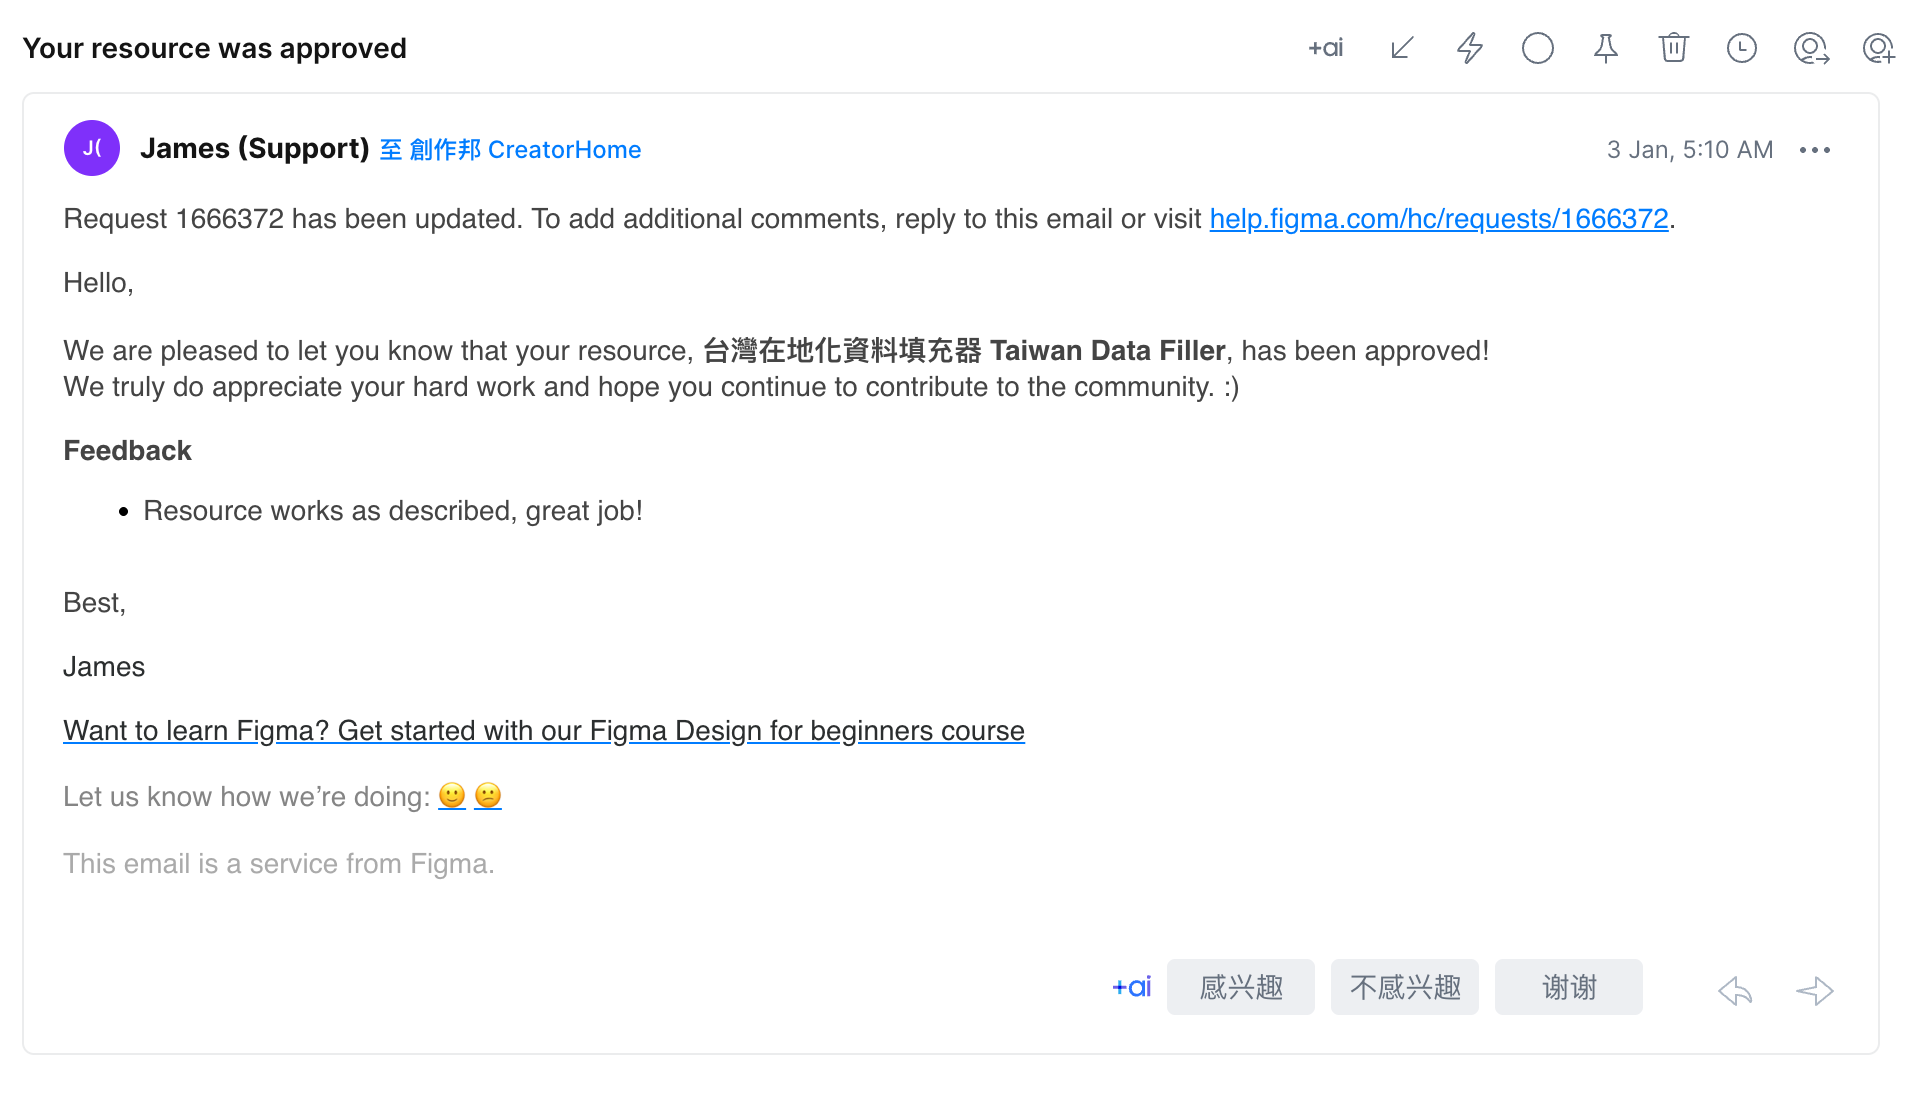
After Approval
You'll receive a notification email from Figma after approval. Although creating these tools doesn't make money, receiving approval notifications always feels incredibly rewarding—just like the email says, they hope we continue contributing to the community.
I love Figma not just for the tool itself, but also for this community of mutual exchange and contribution. I've benefited from many people sharing free and useful templates and Plugins.
Now that I have the ability, I'll continue sharing and hope this community keeps growing.
Related Resources
- My Figma Account: https://www.figma.com/@creatorhome
All my created Plugins are there—feel free to check them out
Extended Reading: